 21 June, 2017
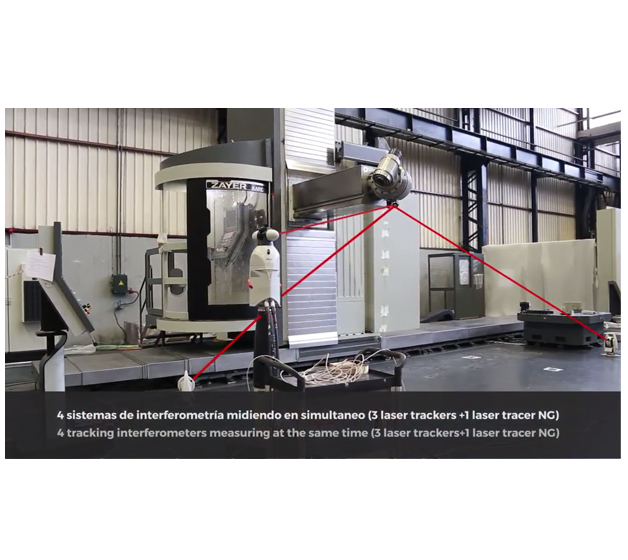
The multilateration technique is a new solution for the measurement of the geometrical error of a machine tool (MT) in all working volume. This solution uses an interferometric system with tracking capability to an optical reflector located at the tip of the tool. In this way, a volumetric point cloud is described through the MT and the measurement of displacement between the inferferometer and the reflector is made by each of the points.
So far, it is common to use only a measurement system, which means that the multilateration is carried out sequentially. That is, the MT repeats several times the cloud of point to be measured and runs the measurement from different positions of the measurement system. This implies that the MT has to ensure a repeatability requirement throughout the verification period, which can be affected by several factors, such as thermal drift, mechanical repeatability of the MT or lack of stability of the measurement system on the time.
ZAYER together with IK4-TEKNIKER have developed a solution that allows the volumetric verification of the MT simultaneously. To do this, several interferometers with tracking capacity and laser tracker or laser tracer are used, to check an only cloud of volumetric point cloud of MT and obtain errors of the machine in a short space of time, around 20-30 minutes in function of the MT size, against the 6-8 working hours used in the sequential multilateration.
The greatest benefit of this solution lies in eliminating the thermal drift of the MH from the measurement itself, which means that the uncertainty of the volumetric measurement is up to 50% lower. In addition, the fact that the measurement is so fast allows to have the sensitivity in sufficient time to monitor the thermal drift of the machine in its range of working temperatures. For the latter, the volumetric verification of the MH must be repeated.
Subscribe to our newsletter. Just insert your e-mail and you will receive the latest news.